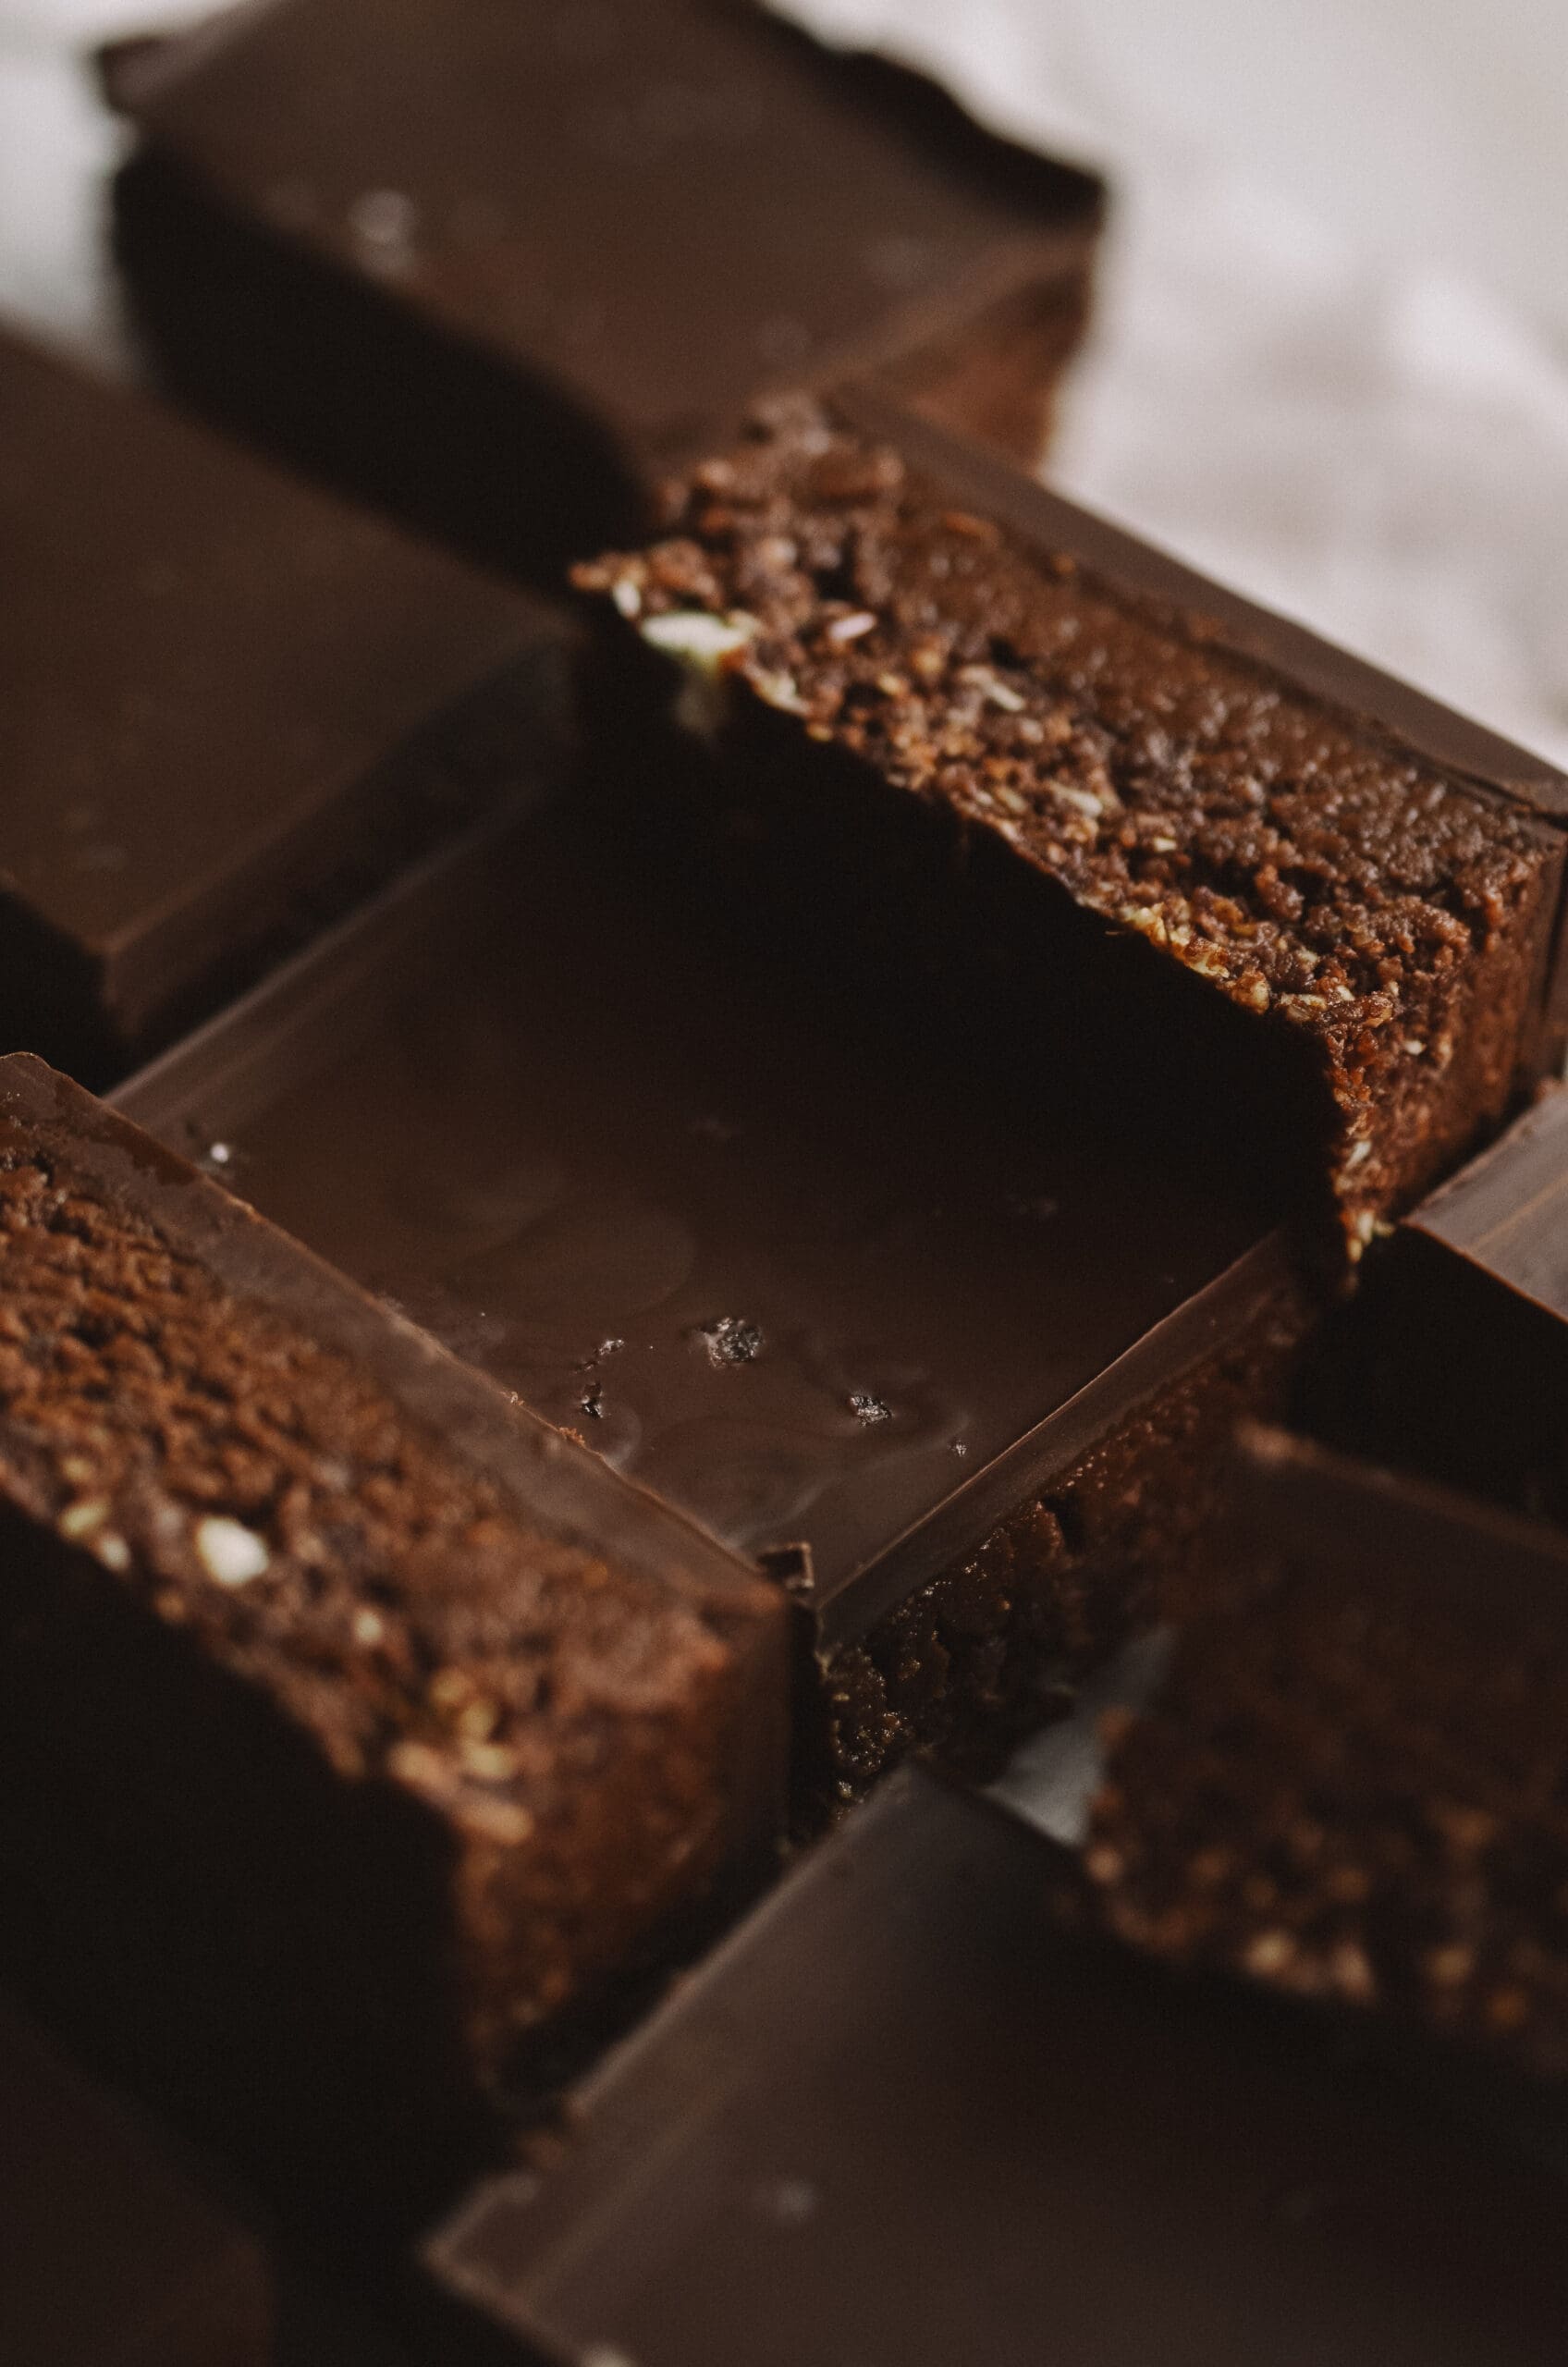
the peanut butter brownie bar
Gluten-free, dairy-free, vegan, & low in sugar, these bars are rich, decadent, & packed with over 40 grams of collagen. They require no baking, just patience ;)
Ingredients
Bottom layer:
- 1 cup oats
- ½ cup raw cashews
- ½ cup raw pecans
- ¼ cup canned coconut cream, chilled
- ¼ cup cacao
- 3 Tbsp maple syrup
- 1 Tbsp vanilla
- ½ tsp sea salt
Middle layer:
- 1 cup runny peanut butter
- 4 scoops Ancient Nutrition's Multi Collagen Protein
- 2 Tbsp cacao
- 3 Tbsp maple syrup
- 1 Tbsp coconut oil
- 2 tsp vanilla
- pinch of sea salt
Top layer:
- ¾ cup dark chocolate
- 1 Tbsp coconut oil
- flaky salt, to top
Instructions
- Begin by making the bottom layer. In a small blender, blend together the oats, cashews, & pecans until you reach a flour consistency. Pour the flour into a medium-sized bowl, then add the cacao & sea salt. Lightly mix it together.
- In the same bowl, add the coconut cream & maple syrup. Mix until everything is well combined. It may seem like it's not coming together but continue mixing, I promise it will!
- Line an 8x8-inch pan with parchment paper. Take your mixture & press it into the bottom of the pan, spreading it out evenly so the entire bottom is covered. *NOTE - a silicone spatula will make this process easier than using your hands. But, you might find the mixture sticking to the spatula. If so, periodically run the spatula underwater before you use it to spread the layer (don't dry), this will help prevent sticking.
- Once your layer is flattened, place it in the fridge to chill while you start the middle layer. Let it rest for at least 10 minutes before adding the next layer.
- For the sake of ease, use the same bowl to make the middle layer. Melt the coconut oil however you'd prefer, then add to your bowl. Add the runny peanut butter, collagen, maple syrup, & vanilla, mix until everything is well incorporated.
- Gently mix in the cacao until it's thoroughly combined.
- Once 10 minutes or so have passed, take your pan out of the fridge & spread your second layer on top of the first. Feel free to use the spatula again to help with this. Create a smooth, even layer, then place it back into the fridge. Let this sit for at least another 10 minutes.
- While your pan is in the fridge, prepare the third layer. Using a small saucepan, melt your coconut oil over low heat.
- Add your chocolate chips & stir consistently so the chocolate doesn't burn. This will only take a few minutes for the chocolate to melt.
- Remove from the stovetop & let the chocolate cool for a few minutes, but no more than 5, or it may start to harden.
- Take the pan out of the fridge & quickly pour the top layer of chocolate on. To get an even spread, slightly tilt the pan around to distribute the chocolate. *NOTE - if you put it in the freezer by any chance to chill, you'll want to spread the chocolate very fast as it will start to harden very quickly.
- Once the entire surface is covered with a layer of chocolate, top with flaky sea salt & place your pan back into the fridge & let it sit for at least 30 minutes or until the top has fully hardened.
- After the time has passed, cut into 12 or so squares & enjoy!